Recent Blog Posts
-
10/10/2025VIDEO: How often does a Survival Sock get knit at NEAFP?
-
09/12/2025NEW Downloadable Content: Alpaca Dinner Time Coloring Page
-
08/15/2025Reviews: What People are Saying About Bouclé Lined Mittens!
-
08/15/2025Get Ready for NAFD! 5 Ways to make the most out of your Open House!
-
06/26/2025NEW Downloadable Content: Find the Difference Activity Page
-
04/25/2025VIDEO: Take a Virtual Tour of our Mill!
-
01/17/2025Reviews: What People are Saying About The Survival Sock!
-
09/13/2024Download A Free Handwear Informational Print Out!
Alpaca Coloring Pages
- Happy Memorial Day 2024: Alpaca's Grazing
- Winter #1: Build a Snowman Activity
- Winter #2: Extreme Sports
- Valentine's Day: Alpaca Wedding
- St. Patrick's Day: Leprechaun
- Spring: April Showers
- Summer: Beach Day
- 4th of July: Colonial Alpacas
- Summer: Farmer's Market
- Fall: Apple Picking
- Halloween #1: Costume Contest
- Halloween #2: Spooktacular Halloween
- Thanksgiving #1: Giving Thanks Activity
- Thanksgiving #2: Pilgrim Alpacas
- Christmas #1: Deck the Halls
- Christmas #2: Santa's Workshop
Alpaca Fact Series
Business Resources
- Article: Email is still a MUST DO for all Alpaca Farms
- Article: Off the Beaten Path Event Ideas on the Alpaca Farm
- Download: Sock Photo Download Folder
- Graphics: Shop Small this Holiday Season
- Article: Form Follows Function: Dressing for Fall and Winter 2020
- Graphics: Sock and Handwear Comparisons
- Article: A Change in the Seasons: Farms Continue to Adapt into the Busy Harvest Season
- Graphics: How to Support Alpaca Farms
- Graphics: Alpaca Fiber Properties
- Article: Customer Retention: Building Customer Loyalty for your Ecommerce Business
- Article: Harnessing Storytelling to Market Your Business
- Article: The New Normal and a Renewed Support for U.S. Alpaca
- Article: Use Gift Cards to Increase Sales
- Article: Virtual Farm Tours: Bringing People & Alpacas Together in the Virtual World
- Graphics: Get the Most out of your Fiber Harvest
- Graphics: Alpaca Knitter's Yarn Guide
- Article: Mike and Sean's Adventure in Retailing
- Article: Harnessing Holiday Sales Momentum into the New Year
- Graphics: U.S. Alpaca Holiday Gift Guide
- Graphics: Small Business Saturday Resources
- Article: Tools and Topics for Implementing Healthy Soil Agriculture
- Article: Successful Social Media Marketing for Alpaca Farms
- Article: Agritourism on the Alpaca Farm
- Article: Finding Success at Fall and Winter Markets
- Article: Brand Identity & Your Local Community
- Article: Social Media: Alpacas are STILL Seriously Trending
- Article: Let's Get Personal: Expanding your Inventory with Product Personalization
- Article: Part 2: Promoting your Brand Online through Product Styling
- Article: Promoting your Brand Online through Product Styling
- Article: 7 Old School Ways to Spread the Word about your Event
- Article: 5 Ways your Open House can increase Future Sales
- Article: Top Alpaca Related Hashtags to increase your Reach!
- Article: Alpacas are SERIOUSLY Trending
- Article: How to Utilize CO-MARKETING
- Article: Farmers Share their Booths and Tips
- Article: Mobile Payment Survey Results
- Article: Product Photography Do’s and Don'ts
- Article: Driving Business After the Holidays
- Article: Marketing Reflection and Planning
- Article: The Slow Alpaca meets Slow Fashion
- Article: Use Gift Cards to Increase Sales
- Article: The Importance of Being Mobile Friendly
Article: Finding Success at Fall and Winter Markets
While many of us are still hoping to hold onto summer for just a little while longer, fall brings great opportunities for the alpaca farmer! Farmer’s markets, craft fairs, and harvest festivals will soon lead into holiday bazaars, all of which offer a chance to extend your customer base, boost sales, and expand your brand. Fall and winter are undeniably the busiest seasons for vendors of alpaca products, but how can you make sure that your time and energy are well spent? Take the time now to strategize for fall and winter markets to ensure that your booth is as impressive as the products you sell.
Start at the Very Beginning
Before you even think about your booth setup, make sure you attend the right events. Ask yourself what type of people will come to a particular market, if the location is easily accessible, and if the event is marketed or advertised. If possible, reach out to like-minded vendors who have worked the event in recent years to hear their perspective and gain valuable insight. While many markets will try to prevent vendors from selling similar products, it is always wise to check for yourself, as redundancy will lead to fewer sales. You want to make sure that your products “fit” within the overall scope of the market, but you won’t want to compete with a handful of similar vendors!
Regardless of how an event is externally marketed, it is your job to market your event on social media. Always share where you will be selling in advance, and be sure to take photos of your booth at the show to create buzz during and after the event! Don’t forget about repeat customers: make sure your website or social media pages are posted on any collateral you have in your booth so that new customers can find you again. Looking to start a mailing list? Put a sign-up sheet in your booth so customers can be notified about future events.
If you sell a wide range of products, make sure you bring the right products for a particular market. You will likely find that certain products sell better in different locations. In most cases it is important to still offer a variety of products and something for every budget at each show. Be sure to bring smaller, more affordable options for customers who might not be ready to invest in higher price-point items. These more affordable products help introduce customers to your brand and hopefully bring them back for a larger purchase in the future.
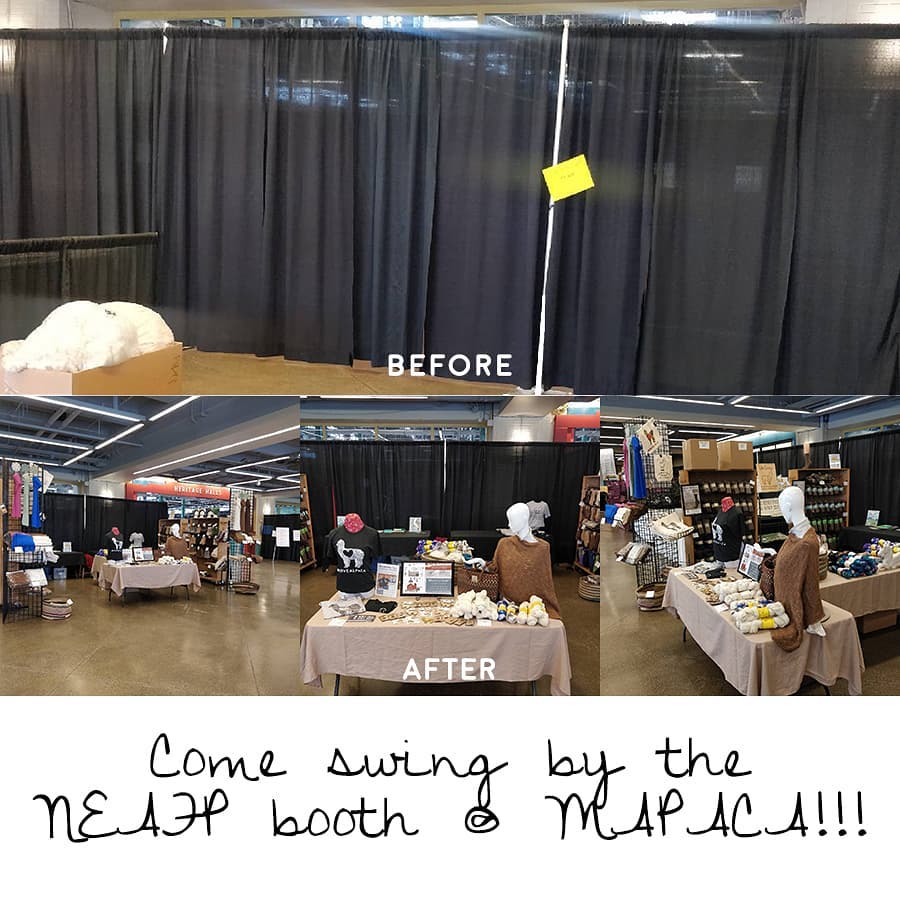
We love to share photos of our booths on social media. It's a simple way to get the attention of potential customers who might be interested in perusing your products! We posted this photo during the most recent MAPACA show. Take note of the smaller items for sale on the table: T-Shirts, Bumper Stickers, Key Chains, Pins, and other affordable options!
Build a Better Booth
Create a booth that is convenient for you and your customers. Ensure that your equipment is easy to set up and take down, and is versatile for different types of events. If you’re given the chance, always set up in high traffic areas, such as those close to the market entrance or on the end of an aisle. A canopy or tent is a great way to protect your products, but it can also make you stand out from the rest of the crowd, especially if it features your logo or information on what you’re selling. If your booth is dimly lit, consider bringing additional lighting to brighten the space and allow customers to better view your products.
Attract shoppers and help them move easily through your booth with a well-organized, user-friendly layout. Placing an inviting table or display towards the front of your booth will increase visibility, while also encouraging visitors to walk in and around it. The more time spent in your space, the greater the chance of a purchase being made! Check to make sure that there are no fixtures, products, or other hazards that could inhibit the flow of traffic.
You will appear less cluttered and disorganized if you keep your fixtures clean and products orderly. Consider using racks, hangers, or clear bins that are easily visible and accessible to shoppers. Fight the urge to put everything out at once. Instead, stay attentive to your displays as you make sales and reorganize them as needed to prevent your booth from looking empty. Pay attention to even minor details. Clear labeling is also key. Many shoppers will choose to walk away rather than ask about pricing, so make sure your customers understand what your products are and how much they cost by using tags and signs.
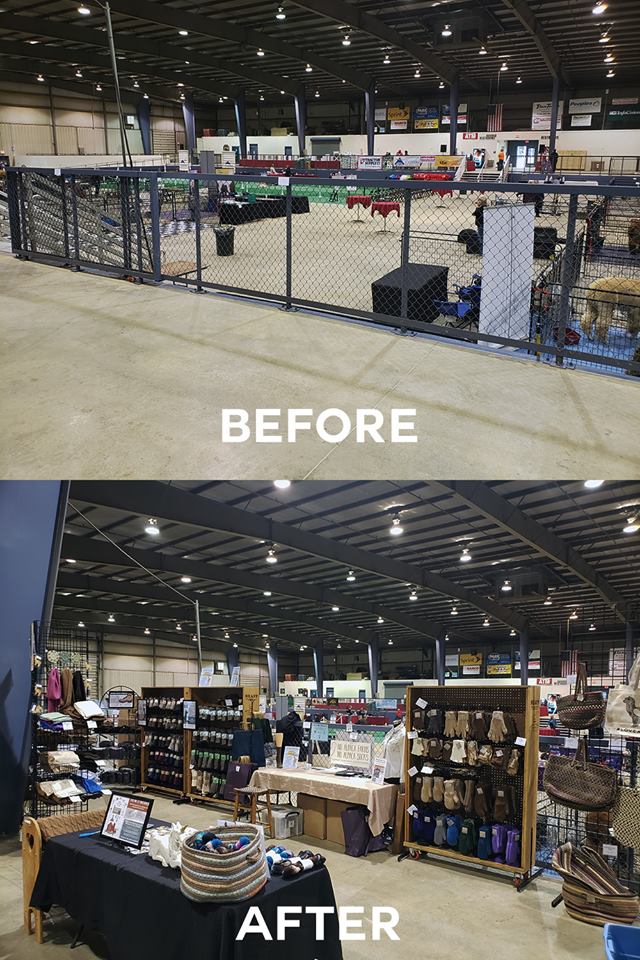
Our layouts may change depending on the location, but we've made sure our display stands and boxes are easy to move regardless of the situation. Even in an oblong space like this, we made sure there was enough space for customers to flow freely through our booth.
Showcase Your Products
Be sure to use the space in your booth creatively. Rather than simply setting products on a table, think about how you might use shelving, stands, and racks to utilize valuable vertical space and create visual interest. Put the most popular products out front to draw potential customers in to see what else you have available. Place more expensive or fragile items in areas where they are less likely to be handled. Keep less desirable items in view, but not front and center. How can this work in practice? Place your most eye-catching and popular products at eye level, your more expensive or delicate above, and slower moving products closer to ground level.
Just as your overall marketing should tell a story, so should your booth space. Make sure that your booth tells your story while connecting back to the alpacas. Your booth should emphasize your brand through your choice of fixtures, your signage and displays, and any decor you choose. If possible, provide a connection to the actual alpacas that contributed to the making of your products. This could be having them at the event, having photos of them in your booth, or bringing raw fiber for customers to touch. The better the experience, the more likely your visitors are to buy your products.
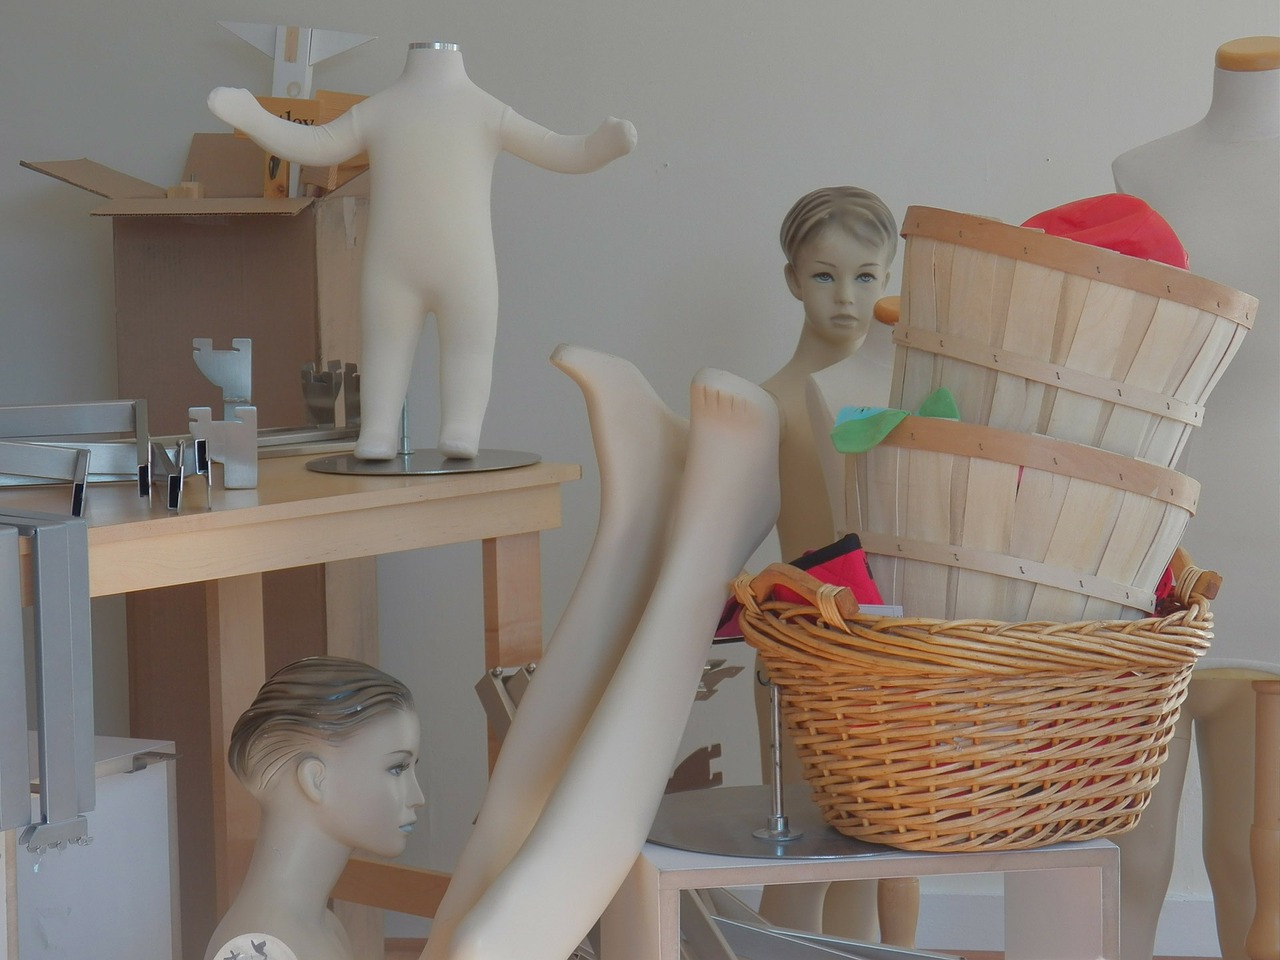
Alpaca products are not usually static objects, they are meant to be worn or used. For wearable alpaca garments, give customers the chance to experience products as they’re meant to be used. You may find that some customers decide to buy a hat only after they’ve seen it on themselves. Having a mirror in your booth will prevent shoppers from having to imagine what something might look on themselves. Showcasing products on mannequins is another worthwhile technique. Styrofoam heads are relatively inexpensive, and great deals can be found on mannequin busts at local “going out of business sales.”
Check out our stock of posters in the Marketing & Collateral section of our website if you're looking for ways to visually connect your products back to the alpacas!
End on a High Note

Even if a customer is interested in your products, they may decide that purchasing is not worth the hassle if the checkout process is unclear. Therefore, consider your checkout process. Make it clear where customers can go when they are done shopping and ready to make a purchase. If a line forms, have a place for shoppers to stand that does not crowd the booth. Also consider the forms of payment that you will accept. A cashbox will streamline transactions and make your operations look more professional. However, if you only accept cash, you are eliminating a large portion of your customer base. Look into Square and other forms of credit card processors that can be used easily at your booth. After the transaction has been completed, make sure you have some kind of packing material (such as paper gift bags) available to secure your customer’s purchases. You can sneak in a business card while you’re at it!
It never hurts to be friendly and professional. Get to know event organizers, other vendors, and your customers. Events can get stressful, but customers are buying into a brand, not just the product itself. If you leave them with a good impression they will be more likely to return. Remember not to be too pushy either, or you may drive some interested customers away!
As you think about what products to stock for the upcoming market seasons, remember to give some thought to how you will display them. Check out our previous blog post on market setups, featuring photos of your booths here!
We hope that these Business Resource Blog Posts have been helpful. Is there a topic you'd like us to cover in a future post? Write to us at support@neafp.com

